How to install solar panels? Most people who want to install solar panels at home hire a company specialized in solar energy. This is a wise decision, of course. However, if you would like to know how to install them, either out of curiosity or you feel confident enough to try doing it yourself, then read on.
The assembly of solar panels is easier than you think. You only need a few tools and follow the instructions described here.
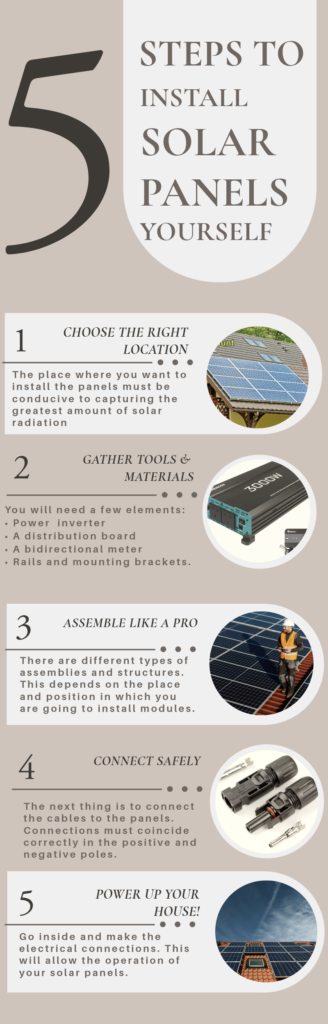
Next, we will explain the 5 steps you should follow to install solar modules in your home.
Step 1: Choose the installation location.
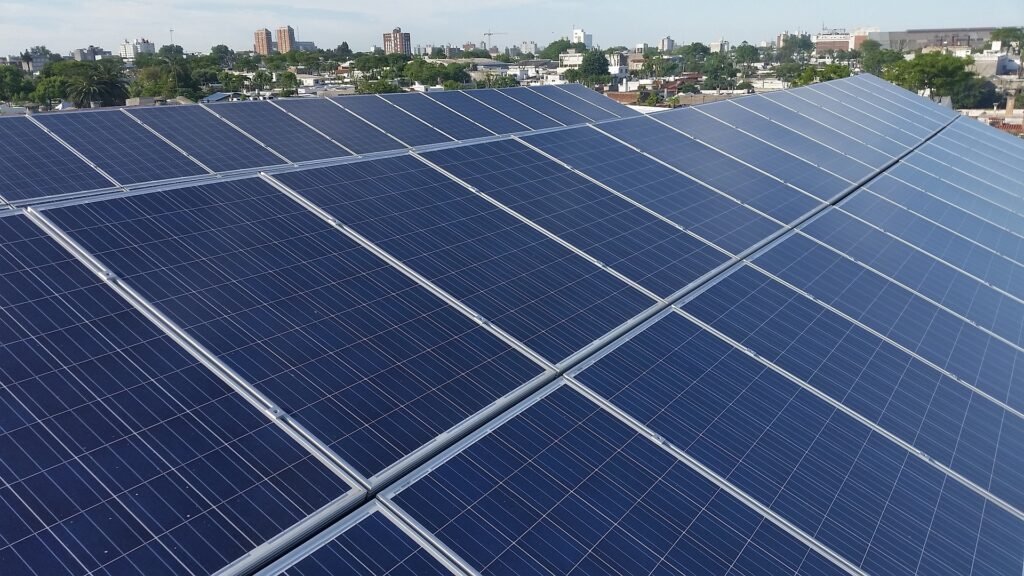
Usually, photovoltaic modules are installed on the roof to absorb the most solar radiation. However, you can install them practically anywhere, such as a pole, wall or even on the floor. The important thing, in this case, is the location: it must be adequate.
During the day, solar panels need to capture as much sunlight as possible to meet your home energy demand. Make sure that the location of your photovoltaic panels doesn’t have any obstacles such as trees, poles or buildings blocking the sun.
Another key factor to consider is the size of the available space. Take into account that commercial panels measure approximately two meters square. For example, if your installation consists of 6 panels, then you need at least 12 square meters. If there are 8 modules, the land must be 16 square meters.
In summary, the place where you want to install the photovoltaic panels must be conducive to capturing the greatest amount of solar radiation, avoiding any obstacles. And it must be large enough for the number of solar panels that you have previously calculated according to the autonomy you want to achieve.
Step 2: Materials and Tools for Installation
If your solar installation is on-grid (connected to the local electricity distribution network), you will need a few elements:
- Power inverter
- A distribution board
- A bidirectional meter
- To install solar panels you also need rails and mounting brackets.
As for tools, you must have a drill, a socket wrench, a battery, mounting adhesive and plastic gutters.
Step 3: Assembly process for solar panels
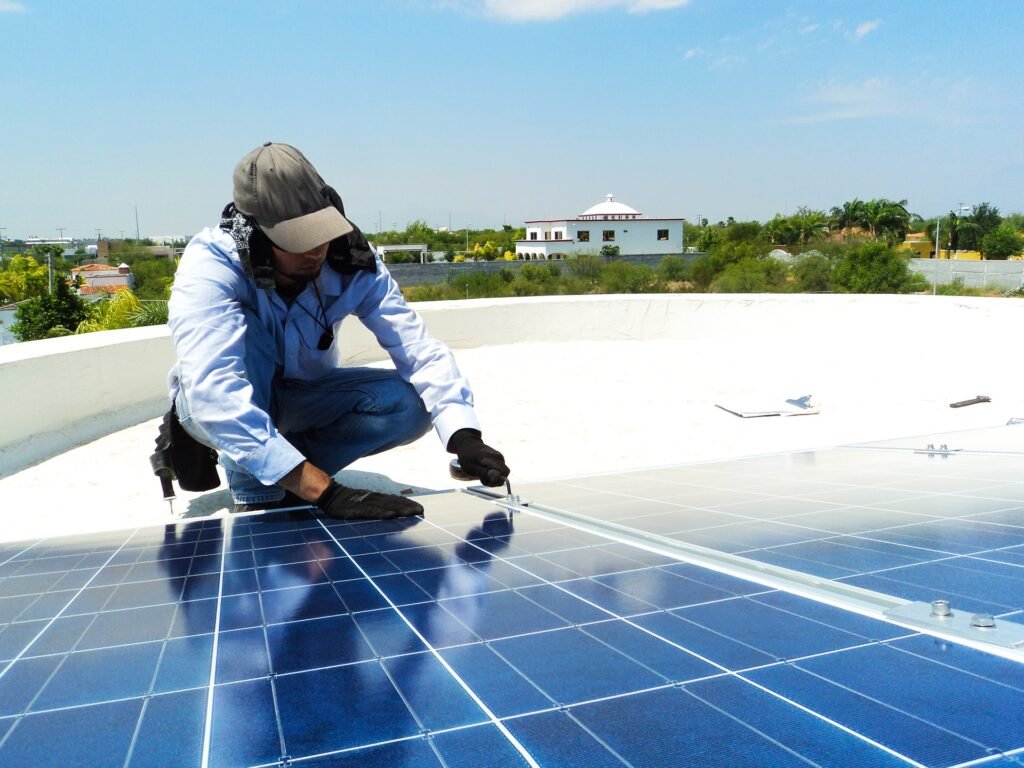
Once all the material is gathered, you can start the assembly process. In case it is on the roof of your home, the next thing will be to place rails using self-drilling screws. This material will support your photovoltaic panels and prevent their accidental movement. For its installation, you can use the screwdriver and the socket wrench.
Then, place the clamping plates next to the photovoltaic panels. Here you would use an Allen key to tighten the plate. So, you will ensure that the photovoltaic panels do not move when a breeze comes.
There are different types of assemblies and structures. This depends on the place and position in which you are going to install your photovoltaic modules. Generally, these structures are made of steel and aluminium. These materials are suitable to withstand for a period between 25 to 30 years and in adverse weather conditions depending on the geographical location, such as snow, rain or very strong winds.
Step 4: Connect the cables to the solar panels
The next thing is to connect the cables to the panels.
At this stage, you must be careful with the connections. So, they must coincide correctly in the positive and negative poles.
Then cover the cables with the gutters, using the jigsaw and a blade to cut the plastic.
At this point, it is also advisable to use mounting tape on the bottom of the gutters. This will help them lock into position better.

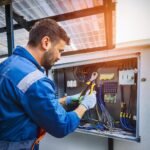
Step 5: Electrical connections
Finally, you should go inside and make the electrical connections. This will allow the operation of your solar panels.
Do you already have a clear idea of how to install solar panels? Although this installation is quite simple, we must recommend expert advice to guarantee the quality and safety of the final result.
Summary

Leave a Reply